Remodeling your bathroom is an exciting process, but it comes with many decisions. From selecting design elements to managing the renovation, it can feel overwhelming. Expert interior renovation services can help streamline the process, ensuring a smooth and stress-free remodel. This ultimate bathroom remodel checklist will guide you through each step, making your renovation hassle-free.
1. Decide on Design Elements
Select Materials: Do you want tiles, vinyl, or natural stone for your flooring? Make decisions on materials that fit both your style and budget.
Choose a Style: Whether modern, traditional, or minimalist, deciding on the bathroom’s overall design theme will shape the rest of your choices.
Pick Your Fixtures: Decide on key items like sinks, faucets, showers, or bathtubs.
2. Gather Your Tools and Supplies
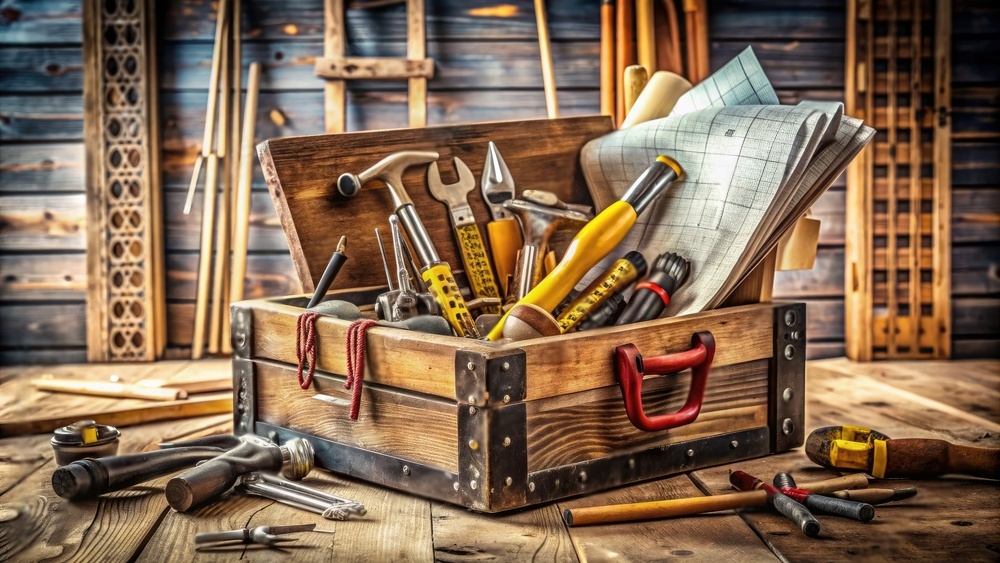
Before diving into the actual remodel, make sure you have the necessary tools and supplies.
- DIY or Hire a Contractor: Determine whether you’ll handle the project yourself or work with a professional.
- Tools to Have on Hand: Hammer, tile cutter, tape measure, safety glasses, and gloves.
- Order Materials in Advance: Ensure you have tiles, paint, lighting, and plumbing fixtures ready.
3. Remove Bathroom Fixtures
Now comes the fun part—removing the old fixtures! Turn off the water supply, and begin by removing the toilet, sink, and shower or tub. Carefully take out any tiles or flooring that need to be replaced. If you’re not experienced with plumbing, you may want to get professional help for this part.
This is a great time to check for any hidden issues like mold or water damage. Addressing these now will prevent bigger problems later.
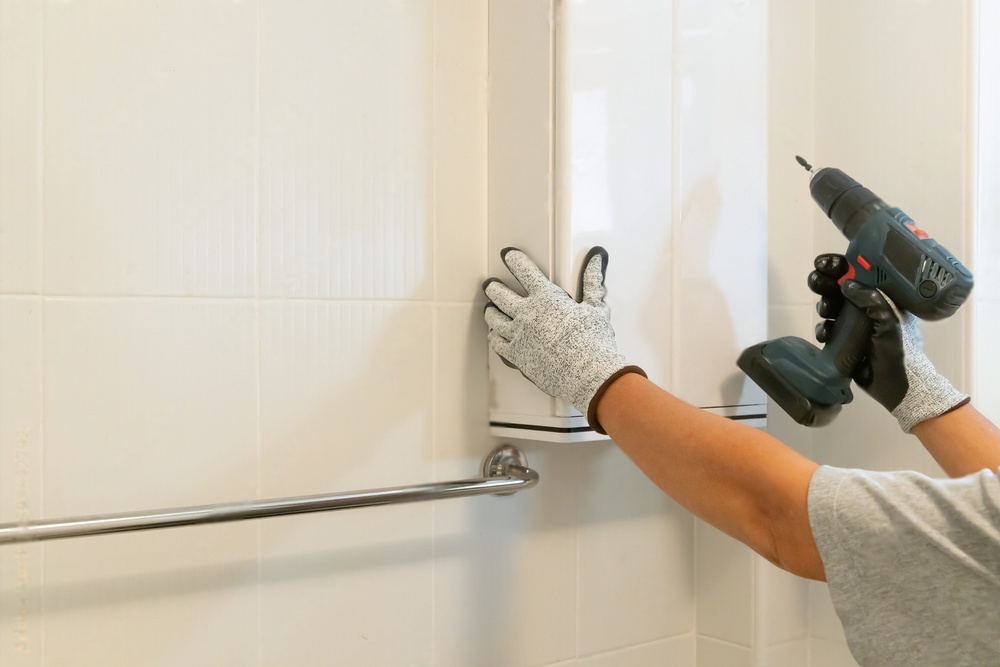
4. Install the New Shower or Tub
Once the space is clear, it’s time to install your new shower or tub. Whether you’re upgrading to a freestanding bathtub or adding a walk-in shower with glass doors, this is a key moment in transforming the look and feel of your bathroom.
Make sure everything is properly sealed and installed to avoid leaks. It’s always worth consulting a professional plumber for this step to ensure it’s done right.
5. Lay the New Flooring
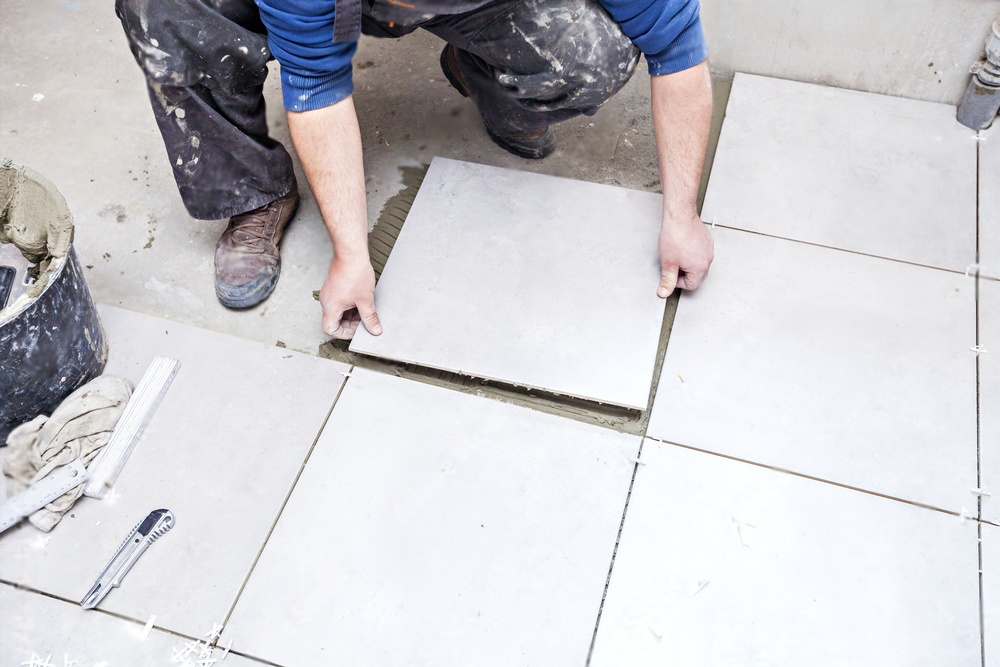
- Choose Flooring Type: Opt for moisture-resistant options like ceramic tile, vinyl, or stone.
- Prepare the Surface: Clean and level the floor before installation.
- Lay Tiles or Flooring: Ensure tiles are evenly spaced and aligned.
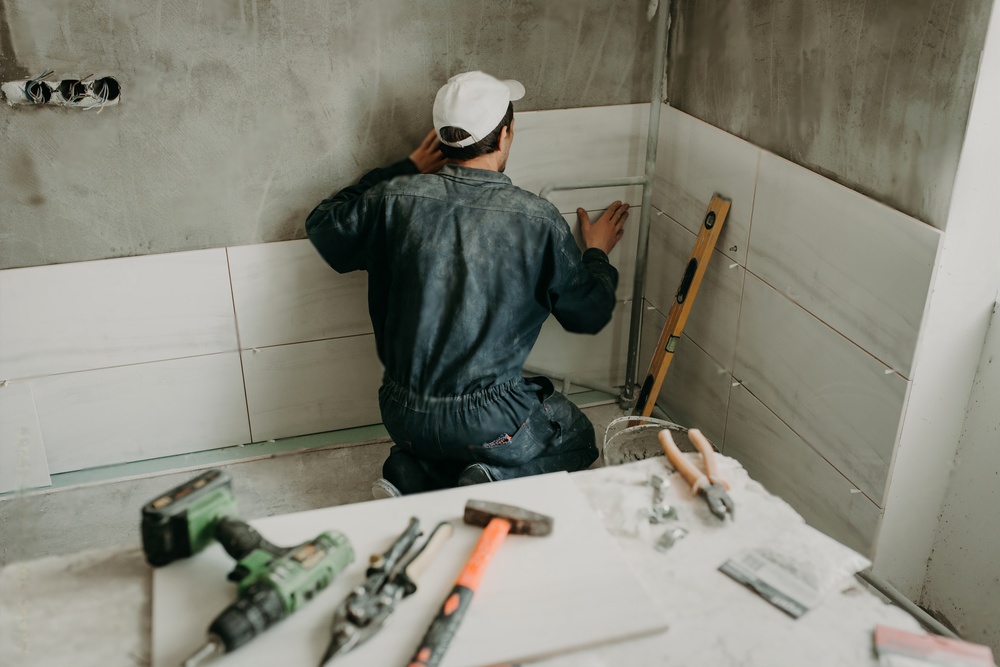
6. Hang Drywall and Start Painting
Prepping the Walls
Once the tub and flooring are in place, it’s time to install the drywall. Be sure to use moisture-resistant drywall to protect your walls from the damp bathroom environment. After hanging the drywall, you can begin painting.
Pick the Right Paint Color
Choose a paint color that complements the rest of your design. Lighter shades can make a small bathroom feel more spacious, while darker colors can add drama and luxury. Opt for mildew-resistant paint to prevent moisture damage.
7. Install Cabinets and Vanity
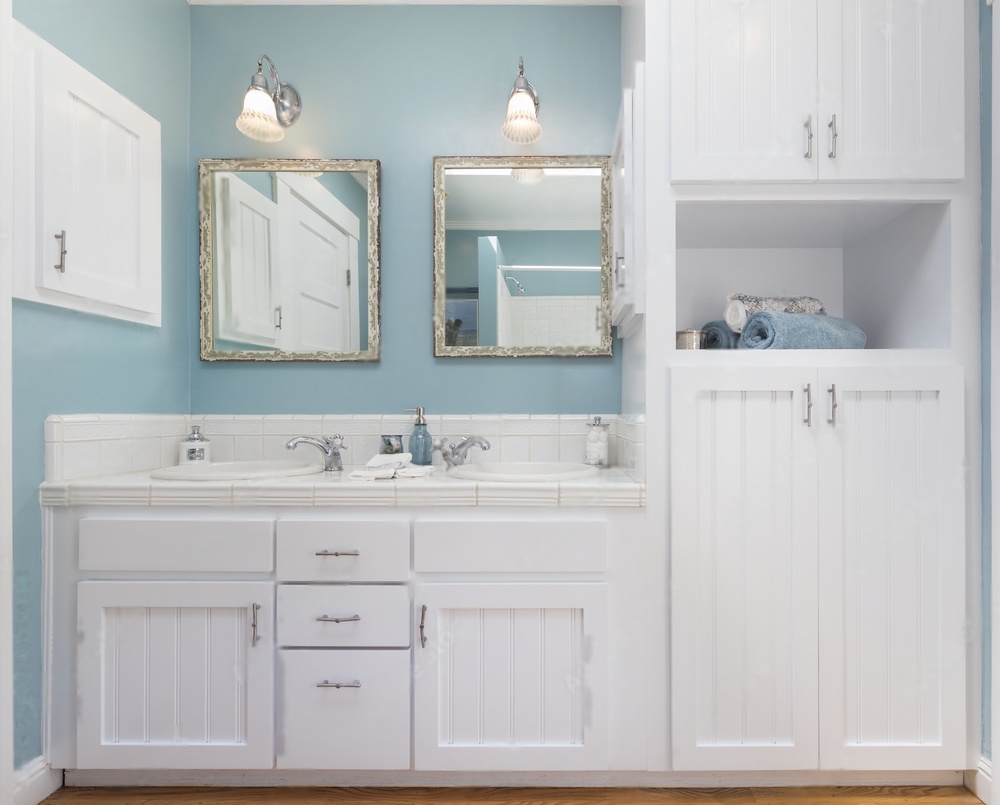
Next, install your cabinets and vanity. This is where style meets function—you want enough storage to keep the bathroom organized without overcrowding the space. Consider floating vanities for a modern look, or traditional wood cabinets for a warmer feel.
When installing, make sure everything is level and secured to the wall for safety. Choose hardware that fits your style, whether it’s sleek stainless steel or vintage brass.
8. Update Lighting
- Plan for Layered Lighting: Add task lighting over the vanity, ambient lighting for the overall space.
- Consider Energy Efficiency: LED lights are a great, long-lasting option.
- Add Dimmer Switches: Create a relaxing atmosphere by adjusting light intensity.
9. Hook Up the Plumbing
With your major fixtures in place, it’s time to hook up the plumbing. Whether you’re reinstalling your toilet or connecting your new sink, ensure that all pipes are secure and there are no leaks. This is another step where hiring a professional is a smart move unless you’re confident with plumbing.
Finishing Touches
- Add Decor: Mirrors, plants, towels, and artwork add personal style.
- Install Accessories: Towel racks, hooks, and soap dispensers complete the look.
- Final Inspection: Check that everything works properly—no leaks, no electrical issues.
FAQs About Bathroom Remodel Checklist
A bathroom remodel involves planning, budgeting, demolition, plumbing and electrical updates, flooring and wall finishes, fixture installation, and final touches. Start with a clear design and checklist to ensure a smooth renovation process.
The cost varies based on size, materials, and labor. On average, a bathroom remodel can range from $5,000 to $25,000. High-end renovations with luxury fixtures and custom designs may exceed this range. Proper budgeting helps manage expenses.
A bathroom remodel typically takes 3 to 6 weeks, depending on the project scope. Delays may occur due to custom orders, plumbing or electrical updates, or unforeseen issues. Planning ahead ensures a more efficient timeline.
Focus on high-impact upgrades like modern vanities, energy-efficient lighting, water-saving fixtures, durable flooring, and updated tiles. Improving ventilation and storage also enhances functionality and value.
Use space-saving solutions like floating vanities, recessed shelving, glass shower doors, and light color palettes. Smart storage and efficient layouts create an open, functional feel in compact bathrooms.
Final Thoughts
By following this checklist, you can transform your bathroom with less stress. Remember to stay organized, make decisions early, and enjoy the process of creating a space that suits your needs and style. Happy remodeling!
Have Questions? Call Us Now!
We’re here to help—quick answers, friendly service, anytime you need!