Brick buildings are strong and durable. But over time, the mortar holding bricks together can wear down. Fixing the mortar is called “brick mortar repair.” In this article, we’ll explore the best tools and materials for this task. If you ever want to fix bricks or learn more about how buildings stay strong, this guide is for you.
What is Brick Mortar?
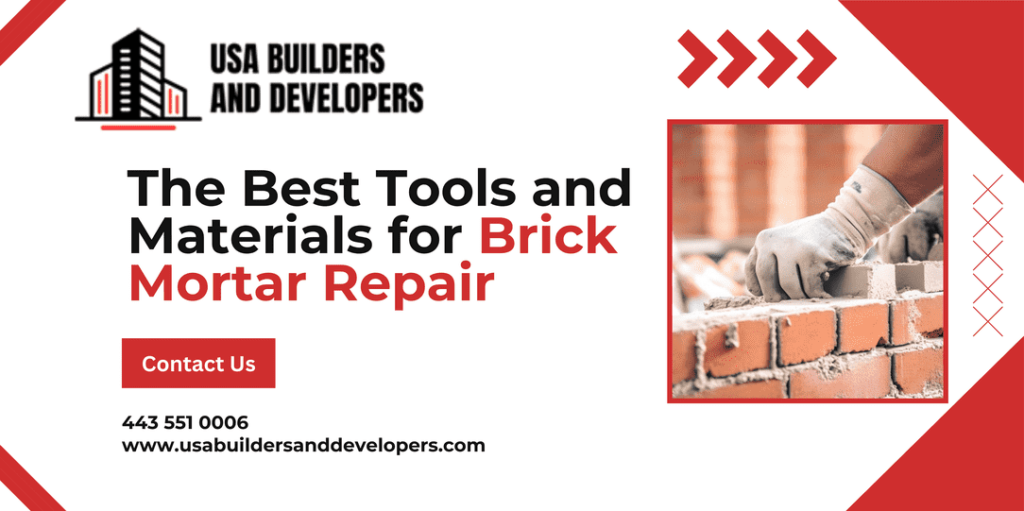
Mortar is the material between bricks. It holds them together. Over time, cracks and gaps can form. If not repaired, these cracks let water in, causing more damage. Repairing mortar is important to keep walls strong.
Tools You’ll Need for Brick Mortar Repair
Using the right tools helps make your work easier and gives better results. Here’s a list of the must-have tools:
- Trowel
A trowel helps you spread and smooth mortar. Choose a narrow trowel for tight spaces. - Pointing Tool
Use this to pack the mortar into the joints. It also shapes the mortar for a neat finish. - Chisel and Hammer
These help remove old or cracked mortar before you add new mortar. - Wire Brush
Brush off any loose bits to prepare the surface. A clean joint ensures the new mortar sticks well. - Mortar Bag
A mortar bag works like a piping bag, making it easier to fill joints precisely. - Level
Use a level to check that bricks are even. It helps avoid crooked walls. - Safety Gear
Gloves, goggles, and a dust mask protect you from sharp edges and dust during repair work.
Materials You’ll Need for Mortar Repair
Now that you know the tools, let’s talk about the materials. Choosing the right mortar and other materials ensures your repair lasts.
- Mortar Mix
This is the most important material. For small repairs, you can buy pre-mixed mortar. Use mortar that matches the color and type of the original joints. - Sand
Sand helps give the mortar the right texture. Some mixes already include sand, but you can also buy it separately. - Water
You’ll need water to mix with the mortar. Add small amounts until the mix is smooth but thick enough to hold its shape. - Sealant
Once the mortar dries, use a sealant to protect it from moisture. This keeps the joints strong for longer.
Step-by-Step Guide to Brick Mortar Repair
Here’s how you can start repairing mortar. Follow these steps:
- Prepare the Area
Remove loose or cracked mortar using your chisel and hammer. Be careful not to damage the bricks. - Clean the Joints
Use a wire brush to clean out the gaps between bricks. You want the area free of dust. - Mix the Mortar
Follow the instructions on the mortar mix. Combine it with sand and water in your bucket. Stir until you get a smooth, thick paste. - Apply New Mortar
Fill your mortar bag with the mix. Squeeze it into the gaps between the bricks. Use your pointing trowel to smooth it out. - Let it Dry
Once applied, let the mortar dry for 24 to 48 hours. Don’t touch the area during this time.
Safety Tips for Mortar Repair
When working with brick and mortar, safety is key. Here are some quick tips:
- Wear Safety Glasses: Protect your eyes from flying debris.
- Gloves: Mortar and tools can be tough on your hands. Gloves provide protection.
- Dust Mask: Removing old mortar can create dust. A mask keeps your lungs safe.
Conclusion
Brick mortar repair is essential for keeping buildings in good shape. Using the right tools and materials makes the job easier and ensures the repairs last. Whether you try it yourself or call in the professionals, maintaining your brick walls will keep them standing strong for years to come.
Contact Us
Need help with masonry work? 🧱 Contact USA Builders and Developers for expert masonry service you can trust. Whether it’s minor fixes or full restorations, we’ve got you covered. Stay connected with us on Social media for latest tips and updates!