In Maryland, the weather can take a toll on aluminum siding. From hot, humid summers to cold, wet winters, your home’s exterior faces constant exposure to the elements. Proper painting and maintenance of aluminum siding not only protects your home but also enhances its appearance and value.
This guide covers everything Maryland homeowners need to know about painting aluminum siding from preparation and materials to application techniques and long-term maintenance. We’ll also explain how hiring professional services like USA Builders and Developers can save time, effort, and frustration.
Key Takeaways
- Protects your home: Painting shields aluminum siding from Maryland’s extreme weather conditions.
- Cost-effective: Repainting is more affordable than siding replacement while enhancing appearance.
- Long-lasting results: Proper prep, high-quality materials, and professional painting can extend the life of your siding up to 10 years or more.
Understanding Aluminum Siding Painting
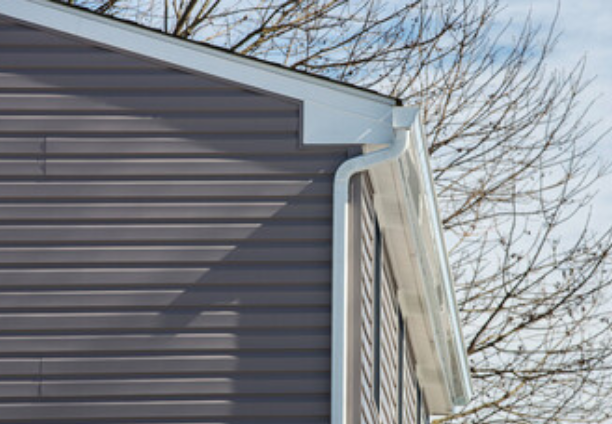
Aluminum siding is popular for a reason: it’s durable, lightweight, and resistant to rot and pests. However, over time, sun exposure, rain, and humidity can cause the paint to fade, chalk, or peel. Repainting aluminum siding restores its beauty, improves protection, and can save money compared to full replacement.
Fresh paint also allows Maryland homeowners to update their home’s color, giving the property an instant visual upgrade. Proper painting ensures your siding continues to provide a long-lasting barrier against weather and environmental damage.
Why Painting Aluminum Siding Matters
Aluminum siding is valued for its durability and resistance to weather, but it is not immune to damage. Over time, sun, moisture, and temperature fluctuations can cause paint to degrade.
Benefits of painting aluminum siding:
- Provides an extra layer of protection against rain, wind, and UV damage
- Prevents corrosion and extends siding lifespan
- Refreshes the look of your home without replacing the siding
- Improves property value and overall aesthetic appeal
Instead of replacing old siding, a fresh coat of paint can bring your home’s exterior back to life and is often the more economical choice.
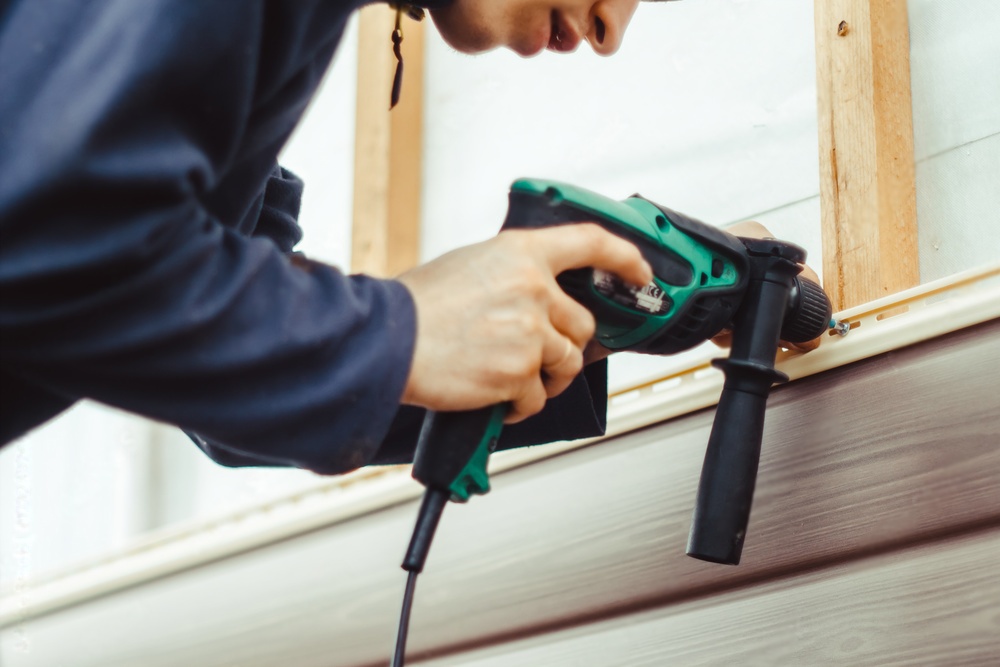
Tools and Materials You Will Need
Successful painting begins with preparation. Here’s a list of essential tools and materials for painting aluminum siding:
- Pressure washer or garden hose with high-pressure nozzle
- Soft bristle brush or sponge
- Scraper or wire brush for loose paint
- Aluminum siding primer (bonding primer)
- Exterior-grade paint formulated for metal surfaces
- Paint rollers and brushes
- Painter’s tape for windows and trim
- Drop cloths to protect landscaping
Selecting high-quality paint designed for aluminum ensures durability and prevents peeling or flaking over time.
Preparing Aluminum Siding for Painting
Preparation is the most important step in painting aluminum siding. Poor prep will lead to peeling, uneven coverage, and wasted effort. Follow these steps carefully:
1. Clean the Siding
Maryland homes often experience dirt buildup, pollen, and mildew due to seasonal changes. Use a pressure washer or a garden hose with soap and a soft brush to clean the siding thoroughly.
- Remove dirt, mold, mildew, and loose debris
- Focus on corners and areas near gutters where grime accumulates
2. Repair Damages
Check for dents, loose panels, or scratches. Minor dents can be smoothed, and loose panels should be secured before painting. Filling scratches with metal filler ensures a smooth surface.
3. Remove Loose Paint
If your siding was previously painted, scrape off any peeling or flaking paint using a scraper or wire brush. Sand rough areas lightly to create a smooth, even surface for the primer.
4. Apply Primer
A bonding primer is essential for aluminum siding because it ensures proper adhesion of the paint. Priming also prevents oxidation and improves the durability of the topcoat. Apply a thin, even layer and allow it to dry completely.
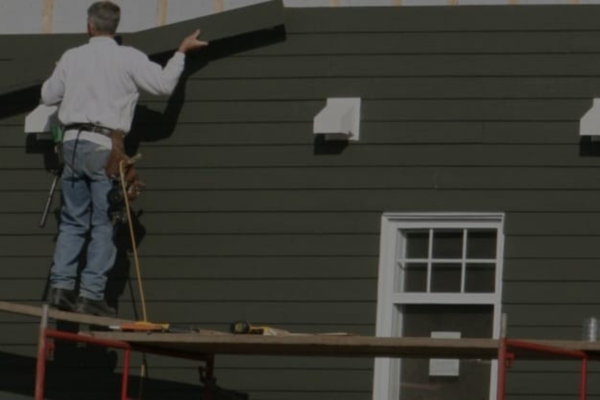
Painting Process for Aluminum Siding
Follow these steps for the best results:
- Protect Surroundings: Cover landscaping, windows, and trim with drop cloths and painter’s tape.
- Prime if Needed: Apply primer on bare or oxidized areas.
- Apply Paint: Use two thin coats rather than one thick coat for even coverage and durability.
- Dry Between Coats: Allow proper drying time before applying additional coats.
- Final Inspection: Touch up any areas with uneven coverage or missed spots.
Seasons with moderate temperatures and low humidity are best for painting in Maryland to ensure proper adhesion and drying.
Maintenance Tips for Painted Aluminum Siding
Once painted, maintenance helps preserve your siding and paint finish. Maryland’s climate can challenge exterior surfaces, so consider these tips:
- Wash siding annually with a mild soap solution to remove dirt and pollen.
- Inspect for chips or scratches and touch up immediately to prevent corrosion.
- Avoid harsh chemicals or abrasive scrubbing tools that can damage the paint.
- Trim nearby trees or shrubs to prevent branches from scratching the siding.
Proper care ensures your painting aluminum siding investment lasts 10–15 years or longer.
Benefits of Hiring Professionals
While painting aluminum siding is achievable for DIY enthusiasts, hiring a professional team like USA Builders and Developers in Maryland can save time and ensure a flawless finish. Professionals bring:
- Experience with aluminum siding prep and painting
- Knowledge of local climate challenges
- Access to high-quality primers and paints
- Efficient and safe installation methods
For homeowners who want a perfect, long-lasting result with minimal hassle, professional painting services are a smart choice.
Final Thoughts
Painting aluminum siding is a cost-effective way to boost curb appeal, protect your home from Maryland’s weather, and extend the life of your siding. With proper prep, the right materials, and professional application, your home can maintain a beautiful, long-lasting exterior.
For homeowners seeking reliable results and expert guidance, USA Builders and Developers delivers professional painting services tailored to Maryland homes.
Have Questions? Call Us Now!
We’re here to help—quick answers, friendly service, anytime you need!