Fiber cement siding has become one of the most preferred exterior solutions for Maryland homeowners. It offers unmatched durability, low maintenance, and versatile design options. Resistant to fire, pests, and harsh weather, it is ideal for both modern and traditional homes. USA Builders and Developers specializes in professional fiber cement siding installation and all types of siding services across Maryland, ensuring long-lasting protection and aesthetic appeal.
This guide will take you through everything you need to know about fiber cement siding, including benefits, installation steps, maintenance, costs, and frequently asked questions.
What is Fiber Cement Siding?
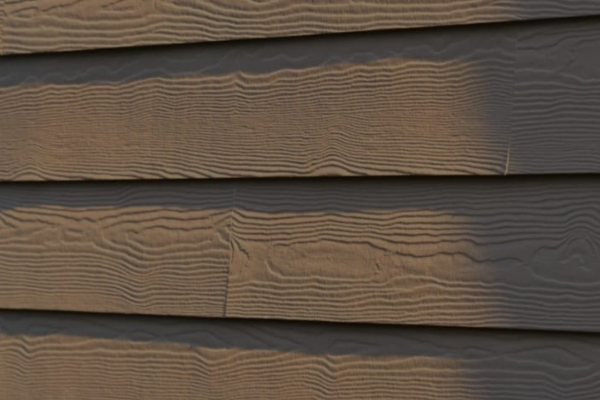
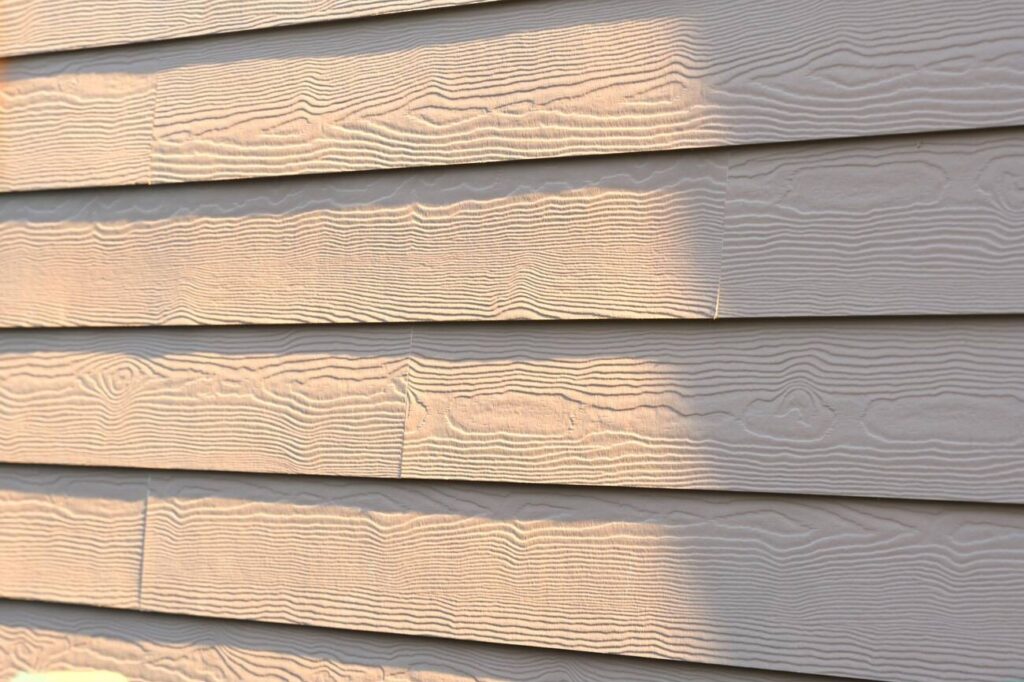
Fiber cement siding is a building material made from a mixture of cement, sand, and cellulose fibers. This composition makes it extremely durable, resistant to fire, pests, and moisture, and capable of withstanding harsh weather conditions.
Unlike vinyl or wood siding, fiber cement does not expand or contract significantly with changes in temperature or humidity. It can mimic the appearance of wood, stone, or stucco, providing homeowners with versatile design options. The material is also environmentally friendly, often containing recycled components and offering a long lifespan, which reduces the need for replacements.
Why Choose Fiber Cement Siding?
Choosing fiber cement siding comes with a host of benefits that make it an ideal option for both modern and traditional homes:
- Durability – Fiber cement siding can last 30-50 years or more with proper maintenance, resisting cracks, rot, and insect damage.
- Low Maintenance – Unlike wood siding, fiber cement does not require frequent painting, sealing, or staining. Occasional cleaning is sufficient to keep it looking new.
- Fire Resistance – Fiber cement is non-combustible, offering extra protection against fire hazards.
- Aesthetic Appeal – Available in various textures, styles, and colors, it can match almost any architectural design.
- Weather Resistance – Fiber cement siding withstands extreme weather, including heavy rain, strong winds, and UV exposure, without deteriorating.
- Energy Efficiency – Some fiber cement siding products provide better insulation compared to traditional siding, which can help reduce energy bills.
Tools and Materials Needed for Installation
Before starting your fiber cement siding installation, gather the following:
- Paint and primer (if panels are not pre-finished)
- Fiber cement panels (pre-primed or pre-painted)
- Circular saw with fiber cement blade or scoring knife
- Hammer or pneumatic nail gun with corrosion-resistant nails
- Measuring tape, level, and chalk line
- Safety gear: gloves, goggles, dust mask
- Exterior caulk and sealant
- Starter strips and trim pieces
Fiber Cement Siding Styles
| Style | Description |
|---|---|
| Lap Siding | Traditional horizontal boards resembling wood. |
| Shingle Siding | Imitates cedar shingles for a classic look. |
| Panel Siding | Large panels for a modern, clean aesthetic. |
| Textured Finishes | Woodgrain, stucco, or smooth finishes for design variety. |
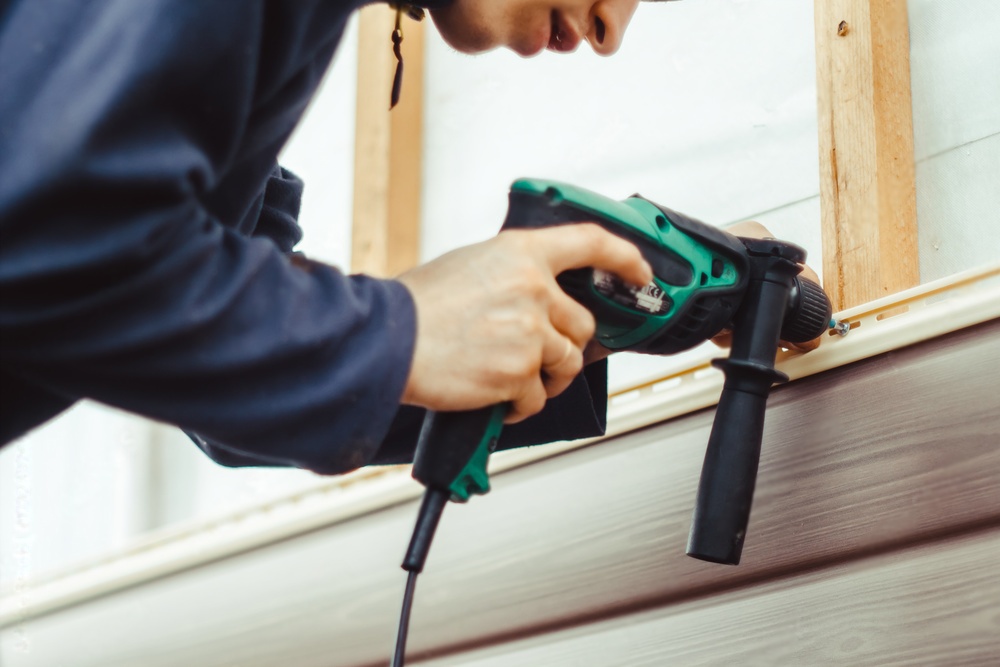
Step-by-Step Fiber Cement Siding Installation
1. Prepare the Walls
Ensure the exterior walls are clean, dry, and structurally sound. Remove old siding or debris. Install a weather-resistant barrier to protect the home from moisture intrusion.
2. Measure and Mark Guidelines
Measure wall dimensions, including windows and doors. Mark horizontal chalk lines for panel alignment to maintain a level installation.
3. Cutting Panels
Use a circular saw with a fiber cement blade or a scoring knife. Always wear safety gear as cutting produces dust. Cut panels slightly larger than needed for precise adjustments.
4. Install Starter Strips
Attach starter strips along the bottom edge of walls. These strips provide a solid base for the first row and maintain spacing for expansion. Ensure they are level.
5. Install Siding Panels
Work from the bottom up. Secure panels with corrosion-resistant nails and follow manufacturer guidelines for overlap. Check each row for level alignment.
6. Trim and Flashing
Install trim around windows, doors, and corners. Add flashing in areas prone to water exposure to direct moisture away from the siding. Proper trim prevents leaks and enhances appearance.
7. Seal and Caulk
Apply high-quality exterior caulk at joints, corners, and openings. This step prevents water infiltration and ensures durability. Allow the caulk to cure according to the manufacturer’s instructions.
8. Painting and Finishing
If panels are pre-primed but not painted, apply high-quality exterior paint. Painting enhances protection, prevents UV damage, and improves curb appeal.
Fiber Cement Siding Cost
| Cost Factor | Price Range | Notes |
|---|---|---|
| Materials | $2 – $5 per sq. ft. | Depends on style and finish |
| Professional Installation | $5 – $10 per sq. ft. | Includes labor and tools |
| Removal of Existing Siding | $1 – $3 per sq. ft. | Optional but recommended for older homes |
| Paint or Finish | $0.50 – $2 per sq. ft. | If panels are not pre-painted |
Professional installation by USA Builders and Developers ensures proper alignment, sealing, and long-term durability.
Maintenance Tips for Fiber Cement Siding
- Regular Cleaning: Use a garden hose to wash dirt and debris off your siding at least once a year.
- Inspect for Damage: Check for any cracks or chips every few months, especially after storms. Repair any damage quickly to prevent moisture problems.
- Repaint as Needed: Fiber cement siding is durable, but the paint may fade over time. Repaint every 7-10 years to keep it looking fresh.
- Seal Gaps: Make sure caulking around windows and doors stays in good condition to keep moisture out.
FAQs About Fiber Cement Siding
You’ll need a circular saw with a carbide blade, a nail gun or siding nails, a level, a measuring tape, and safety gear like goggles and a dust mask.
With proper installation and maintenance, fiber cement siding can last 30 to 50 years, making it a durable and cost-effective choice.
Yes, but it requires careful measuring, cutting, and fastening. For the best results, USA Builders and Developers offers professional installation.
Clean it once a year with mild soap and water. Check for cracks or gaps and repaint as needed to maintain its protective coating.
Final Thoughts
Fiber cement siding is a reliable, long-lasting, and visually appealing option for homeowners looking to upgrade their exterior. Proper fiber cement siding installation ensures durability, protects your home from water and pests, and enhances its curb appeal. Whether you choose a DIY approach or hire professionals, following the correct installation steps will provide years of protection and beauty for your home.
Investing in fiber cement siding is an investment in your property’s future. With minimal maintenance and exceptional performance, it’s a choice that combines practicality with style.
Have Questions? Call Us Now!
We’re here to help—quick answers, friendly service, anytime you need!