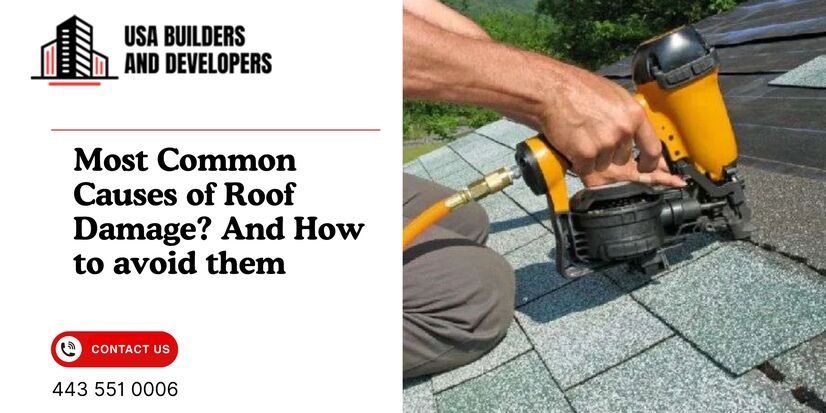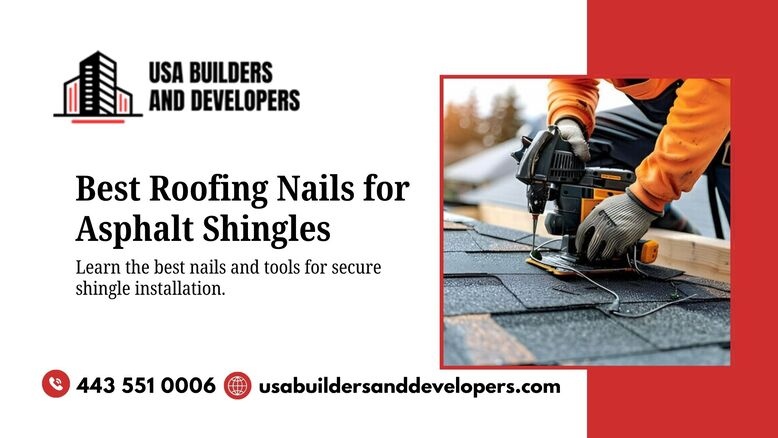
When it comes to installing asphalt shingles, choosing the right roofing nails is just as important as the shingles themselves. Whether you’re a professional roofer or a DIY enthusiast, the nails you use determine how long your roof will hold up against wind, rain, and time.
In this quick and easy guide, we’ll break down the best roof nail for asphalt shingles, explain how tools like a roofing nail gun or cordless roofing nailer can help, and share tips trusted by pros across Maryland and beyond. For homeowners looking for expert help, USA Builders and Developers provide the best roofing services to ensure your roof is installed safely and lasts for years.
Why Roofing Nail Matter
Roof nails might be small, but they carry a big responsibility. They hold your shingles in place, secure the underlayment, and help your roof resist wind uplift and water intrusion. Choosing the wrong type can lead to loose shingles, premature wear, or even water damage inside your home.
Common Types of Roof Nails for Asphalt Shingles
Here’s a look at the most commonly used roofs nails for asphalt shingles, including their pros and typical applications:
1. Galvanized Steel Nails
Galvanized nails are steel nails coated with zinc to prevent rust. These are widely used due to their durability and resistance to corrosion. They’re often the first choice for roofing asphalt shingles in most climates.
2. Stainless Steel Nails
Stainless steel nails offer excellent corrosion resistance and are ideal for humid or coastal areas. Although more expensive, they’re a smart investment if you’re concerned about long-term rust issues.
3. Aluminum Nails
Lightweight and corrosion-resistant, aluminum nails are sometimes used in coastal environments. However, they’re not as strong as steel nails and can bend more easily, making them less suitable for all roofing decks.
4. Copper Nails
Though not common for asphalt shingles, copper nails are occasionally used for specific custom or decorative roofing projects. They’re more often reserved for slate or tile roofs due to their cost and appearance.
Roofing Nails Specs You Need to Know
When buying nails for asphalt shingles, make sure they meet the following specifications:
- Length: Typically 1 to 1¼ inches. Nails should penetrate at least ¾ inch into the roof decking.
- Head Size: A head diameter of about 3/8 inch ensures proper holding power without damaging the shingle.
- Shank Type: Smooth shanks are standard, but ring shank nails provide extra grip, which is beneficial in windy areas.
- Coating: Look for hot-dipped galvanized or stainless steel to ensure rust resistance.
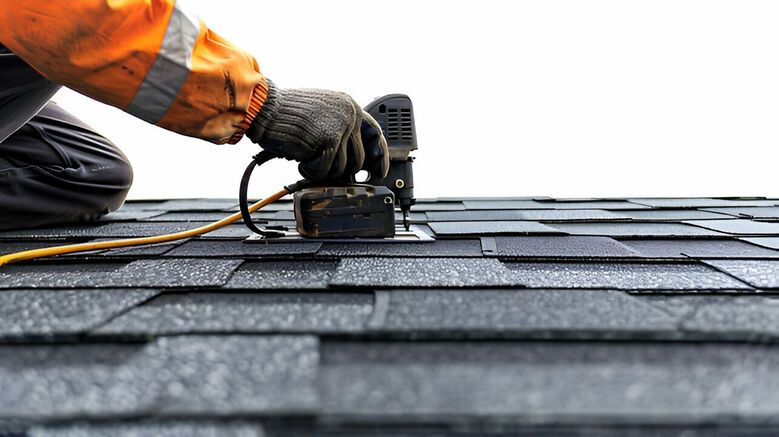
Best Roofing Nailers to Consider: Fast and Efficient
If you’re working on a large project, using a roofing nail gun can save time and effort. Nail guns allow for consistent placement and drive depth, which helps prevent common installation mistakes.
Here are a few top-rated options on the market:
| Model | Type | Notable Features |
|---|---|---|
| Bostitch RN46-1 | Pneumatic | Lightweight, adjustable depth, fast operation |
| DEWALT DW45RN | Pneumatic | Compact and powerful for asphalt shingle jobs |
| Milwaukee M18 Fuel | Cordless | No compressor needed, long-lasting battery |
| Metabo HPT NV45AB2 | Pneumatic | Easy to load, highly reliable under tough use |
The Bostitch roofing nailer is a favorite among professional contractors for its speed and reliability. For smaller or remote jobs, a cordless roofing nailer like the Milwaukee M18 Fuel offers freedom of movement and eliminates the need for a compressor.
Manual Hammering vs. Nail Guns
While some roofers still prefer to hammer nails by hand for better control, most agree that using a roofing nail gun speeds up the job significantly. The key is making sure the nail gun is calibrated to avoid overdriving or underdriving nails, both of which can cause long-term issues.
How Many Roof Nail Do You Need?
For a standard three-tab asphalt shingle:
- Use 4 nails per shingle in normal zones.
- Use 6 nails per shingle in high-wind areas.
That equals around 320 nails per square (100 square feet). Always check local building codes or manufacturer instructions.
Mistakes to Avoid When Using Roofing Nails
Even experienced roofers can make mistakes. Here are a few to avoid:
- Overdriving nails: This can cut into the shingle and reduce holding power.
- Underdriving nails: Nails that don’t sit flush can cause bulging or damage to other shingles.
- Poor placement: Nails should be placed just below the adhesive strip, never too close to the shingle edge.
These small errors can lead to big problems like water infiltration or roof failure.
Trusted Roofing Services in Maryland
If you’re unsure about taking on a roofing project yourself, turn to a trusted professional. USA Builders and Developers provides high-quality roofing services across Maryland, using premium roofing materials and expert techniques to ensure lasting performance.
Quick Tips for Working with Roofing Nails
Here are some simple best practices to follow when working with roof nails:
- Use rust-resistant nails for long-lasting performance.
- Make sure nails are long enough to secure both the shingle and the deck.
- Choose tools that match the scale of your project. For large jobs, go with a nail gun. For repairs, a cordless roofing nailer may be easier.
- Store unused nails in a dry place to prevent corrosion.
Frequently Asked Questions
Galvanized ring shank nails are ideal for asphalt shingles. They resist rust and offer superior holding power, making them suitable for various weather conditions.
Roof nails should be 1¼ inches long for standard installations. This length ensures they penetrate the shingle and at least ¾ inch into the wood decking.
Stainless steel nails offer excellent corrosion resistance, making them ideal for coastal areas. However, galvanized nails are generally sufficient and more cost-effective for most roofing projects.
Smooth shank nails are less effective for roofing as they have lower holding power. Ring shank or screw shank nails are recommended for better grip and wind resistance.
For a ¾ inch plywood deck, 1¼ inch roofing nail are appropriate. They should penetrate at least ¾ inch into the decking to ensure a secure hold.
Drive nails flush with the shingle surface; over-driving can damage the shingle, while under-driving can prevent proper sealing. Ensure nails are placed in the correct nailing zone to avoid leaks.
Roofing nails are available at major hardware stores like Home Depot and Lowe’s, as well as online retailers. Look for galvanized or stainless steel nails with ring or screw shanks for optimal performance.
Final Thoughts
Nailing down your roofing project starts with choosing the right materials. For asphalt shingles, your choice of roofing nails can affect not just the appearance of your roof, but its strength, durability, and weather resistance.
Whether you’re using a Bostitch roofing nailer, a cordless roofing nailer, or driving each nail by hand, selecting the right nails and installing them properly ensures a solid, lasting roof.
Have Questions? Call Us Now!
We’re here to help—quick answers, friendly service, anytime you need!