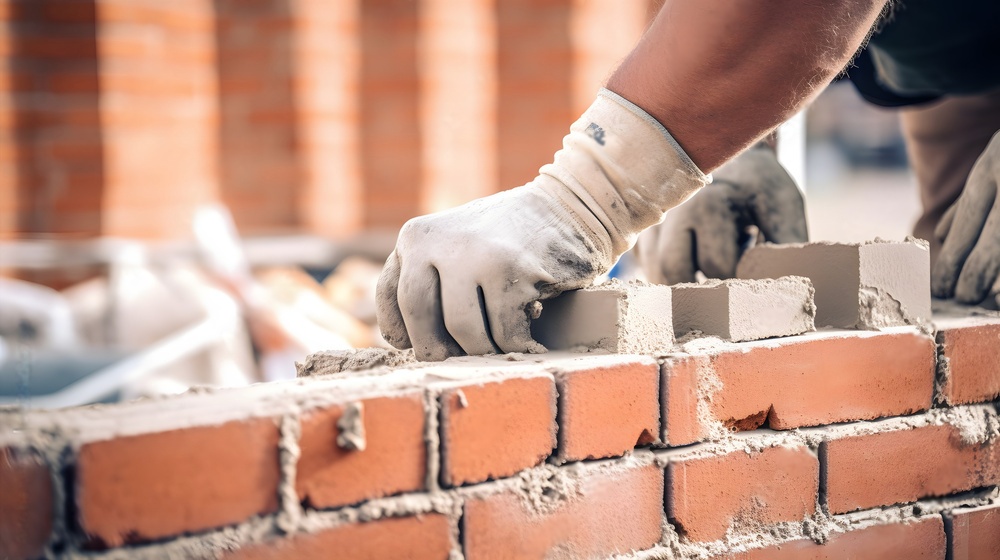
Repairing brick mortar doesn’t have to be overwhelming. Whether you’re dealing with hairline cracks or deep gaps, you can restore the integrity and appearance of your brick surfaces with a few tools and some patience. Mortar joints, also called “pointing,” play a critical role in keeping moisture out and maintaining the stability of your walls, chimneys, and walkways.
In this updated 2026 guide, we’ll walk you through six easy steps to fix your bricks mortar repairing like a pro, along with expert tips and precautions to help your work last for years.
Why Brick Mortar Repair Matter
Over time, exposure to weather, moisture, and temperature changes can cause mortar joints to weaken or deteriorate. Cracked or missing mortar can allow water to seep in, leading to interior wall damage, mold, and even structural issues.
Here’s why timely mortar repair is essential:
- Prevents water infiltration
- Improves energy efficiency
- Preserves structural integrity
- Enhances curb appeal
Whether it’s your home’s exterior, a brick fireplace, or a garden wall, regular maintenance can extend the life of your brickwork.
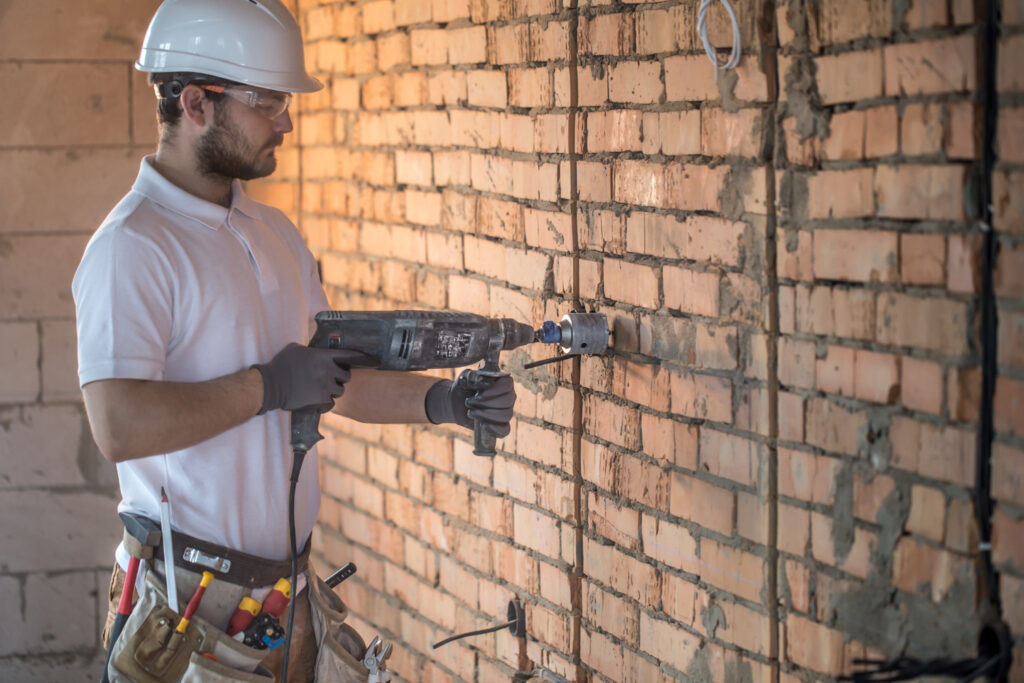
Step 1: Assessing the Damage
Before jumping into repairs, take time to inspect the affected areas thoroughly. Look for:
- Loose or crumbling mortar
- Hairline or deep cracks
- Gaps where mortar has fallen out
- Signs of water staining or erosion
Use a flashlight and tap gently on the mortar with a screwdriver or chisel. If pieces fall off or feel soft, they need replacing. Make a note of how widespread the damage is, it will help you estimate materials and time.
🛠 Tip: If over 25% of the wall’s mortar is damaged, it may be time to consult a professional for repointing or full restoration.
Step 2: Gather the Right Materials and Tools
To repair mortar joints efficiently, you’ll need a few basic items:
Tools:
- Pointing trowel
- Joint raker or masonry chisel
- Bucket
- Hammer or mallet
- Wire or masonry brush
- Sponge or rag
Materials:
- Premixed or dry mortar (Type N for general use, Type S for high-stress areas)
- Clean water
- Bonding agent (optional for better adhesion)
- Sealant (optional for moisture protection)
- Safety gear (gloves, dust mask, goggles)
🧱 Pro Tip: Match your new mortar to the existing one in texture and color. Some hardware stores offer custom mortar matching.
Step 3: Prepare the Mortar Mix
Follow the manufacturer’s instructions on the mortar packaging. If you’re using a dry mortar mix, slowly add water while stirring in a clean bucket. You want a thick peanut butter-like consistency, not too runny, not too dry.
Mix only what you can use within 30–45 minutes to avoid waste and drying in the bucket.
⚠️ Note: Always wear gloves and a dust mask while mixing. Mortar contains lime, which can irritate skin and eyes.
Step 4: Remove Old Mortar
Now it’s time to clean out the damaged joints. Use a joint raker, chisel, or grinder to remove at least 1/2 to 3/4 inch of old mortar from between the bricks. Be gentle to avoid damaging the surrounding brick.
Next, brush away any loose debris and dust using a wire or masonry brush. For best results, rinse the joints with water and let them dampen slightly—this prevents the bricks from pulling moisture out of the fresh mortar too quickly.
💡 Pro Tip: If you’re working on a wall exposed to direct sun, work in smaller shaded sections to prevent the mortar from drying too fast.
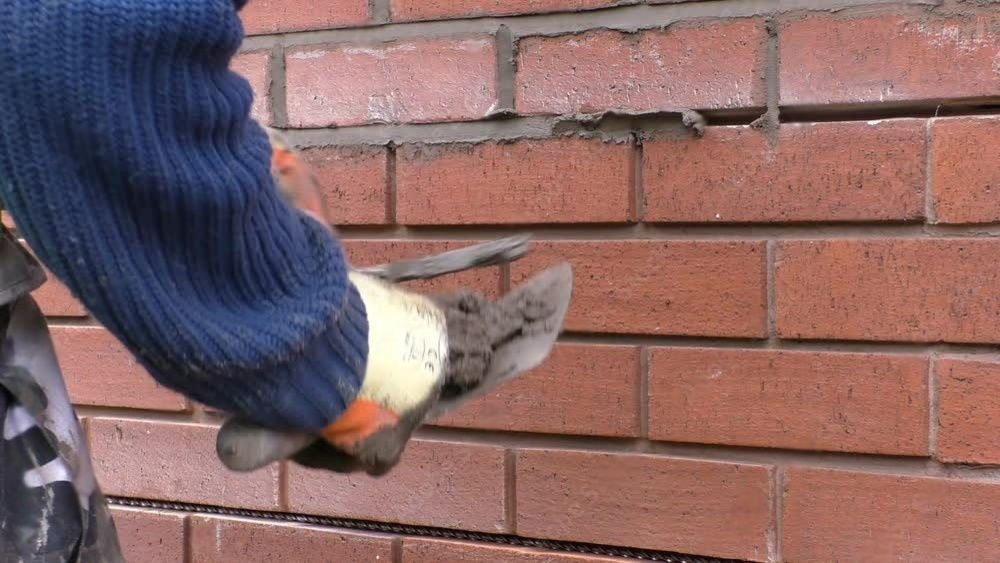
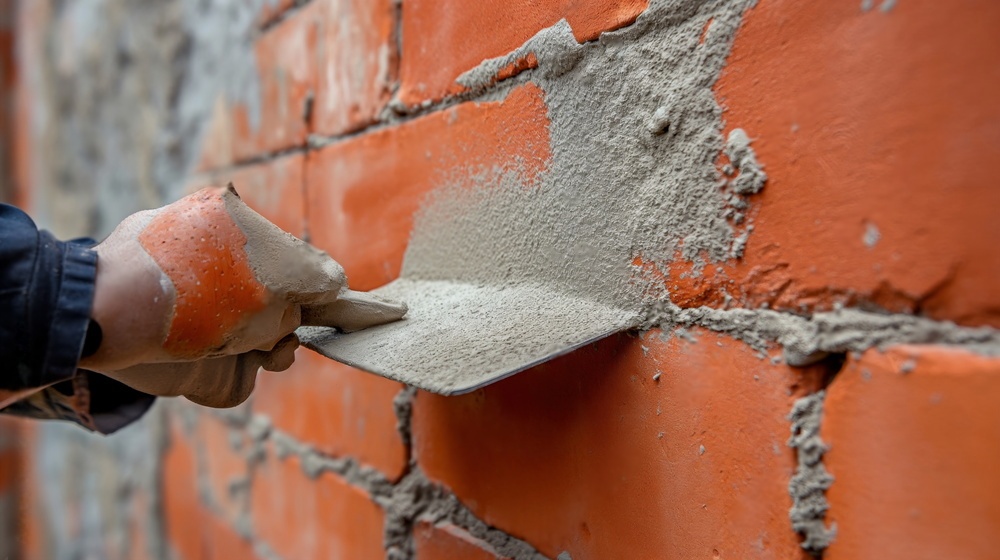
Step 5: Apply New Mortar
With clean, pre-dampened joints, start packing in the new mortar using your pointing trowel. Press the mortar firmly into the gaps, making sure there are no air pockets.
Work in small sections, filling horizontal joints first (called “bed joints”), then vertical ones (“head joints”). Avoid overfilling, level the surface with the surrounding mortar.
🧱 Tip: If the mortar starts to dry or crumble before it’s fully set, mist it with a little water. Slow curing results in stronger joints.
Step 6: Finish the Joints
Once the mortar begins to set, but is still workable, tool the joints to match the shape and finish of the surrounding area. Use a jointing tool to smooth the surface and ensure a uniform appearance.
Remove any excess mortar with a damp sponge before it dries on the brick faces. Afterward, allow the mortar to cure for at least 24 to 48 hours, depending on the weather.
🌧 Important: Protect the area from rain or freezing temperatures during curing. Use a tarp or plastic sheeting if necessary.
Optional: Seal the Mortar
Once fully cured, consider applying a silicone-based brick and mortar sealant to protect against future water damage. This is especially useful for chimneys, foundation walls, and exterior-facing masonry.
🔁 Routine Maintenance Tips:
- Inspect brick joints annually for cracks or gaps
- Keep bricks clean and free from moss or plant growth
- Repoint early to avoid deeper structural issues
If your repair needs are too extensive or the wall is load-bearing, it’s best to consult a professional masonry contractor.
FAQs About Bricks Mortar
To repair crumbling brick mortars, start by removing the damaged mortar with a chisel or grinder. Clean the joints, then apply new mortar using a trowel. Smooth the joints for a uniform finish. Allow the mortar to cure properly to ensure long-lasting results.
The best mortar mix depends on the existing brickwork. A standard mix includes one part cement, one part lime, and six parts sand. For historic brickwork, use a softer lime-based mortar to prevent damage. Matching the original mortar ensures durability and proper adhesion.
A proper repair lasts 20–30 years, depending on weather and material quality. Regular maintenance extends its lifespan.
DIY mortar repair is possible for small areas using basic tools and a matching mortar mix. However, for large sections or structural damage, hiring a professional ensures proper restoration, preventing future issues.
Seal bricks, ensure good drainage, and fix cracks early. Avoid harsh chemicals and power washing to prevent damage.
Final Thoughts
Repairing brick mortar is a straightforward process that can be completed with basic tools and materials. By following these six steps, you can effectively fix damaged mortar and restore the strength and aesthetics of your brickwork. And remember, even the most skilled worker with bricks and mortar started with a single joint so take your time, work carefully, and your walls will thank you for years to come.
Need Help with Masonry Repairs?
At USA Builders and Developers, we specialize in expert mortar repair, brickwork restoration, and full masonry services. Whether you’re dealing with aging chimney joints or a cracked brick wall, our team ensures long-lasting results with precision and care.
📞 Contact us today to schedule a free inspection or get a quote!
Have Questions? Call Us Now!
We’re here to help—quick answers, friendly service, anytime you need!